Overview
When documenting operational activities in a log entry, you may want to associate relevant evidence—such as screenshots or text documents— with that specific activity. Linking evidence to a log entry creates a traceable connection between your documented activity and the supporting materials under your report.When to Link Evidence
Link evidence to a log entry when:- You performed a technique that resulted in a finding or vulnerability discovery
- You captured a screenshot or artifact that represents the activity
- You generated a proof-of-concept or supporting document during the logged activity
- You want to maintain a clear connection between the activity timeline and the evidence collected
Linking Evidence with Log Entries
There are two ways you can link evidence, the web interface and the GraphQL API.Using the Web Interface
The simplest way to link evidence to a log entry is through the web interface. Begin by clicking your log entry to open the details views on the right. Scroll down to the dropzones to see the areas where you can upload evidence files or a terminal recording.
- Click your log entry and paste into your browser to automatically attach an image file or screenshot from your clipboard
- Drag and drop a file into the dropzone
- Click the dropzone to open a file picker
Linking Evidence via GraphQL API
If you’re integrating Ghostwriter with an external system, you can link evidence to log entries using the GraphQL API:Link Log Entry with Evidence
oplogEntryId(required): The ID of the operation log entryevidenceId(required): The ID of the evidence to link
- Requires authentication
- User must have edit permissions for the operation log entry’s project
- The evidence must belong to the same project as the log entry
- Project Mismatch Error: Evidence and log entry belong to different projects
- Not Found Error: Entry or evidence ID does not exist
- Permission Denied Error: User lacks edit permissions for the entry’s project
The GraphQL mutation is idempotent—linking the same evidence to the same entry multiple times is safe and will not create duplicate links.
Evidence Tags
When evidence is linked to a log entry, the entry automatically receives anevidence tag. This tag:
- Appears in the log table for quick visual identification
- Can be used for filtering and searching entries with linked evidence
- Is automatically applied when the first evidence is linked
- Is automatically removed when the last evidence is unlinked
Viewing Linked Evidence
If a piece of evidence is linked to at least one log entry, you will see a Linked Log Entries card at the bottom of the evidence file’s details page.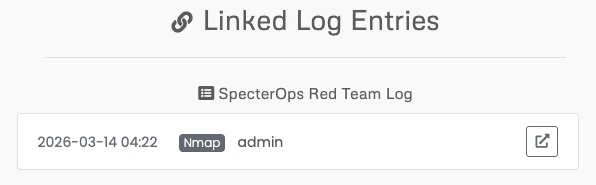
Best Practices
- Link as you document: When you capture evidence during an activity, link it to the corresponding log entry immediately while the context is fresh
- Use meaningful evidence names: Give your evidence descriptive names so they’re easy to identify during reporting
- Add captions: Add your captions right away so you do not forget and provide context for your future self and others
- Keep entries and evidence in sync: If you update an evidence item later, the linked entry will reference the current version
- Use tags for organization: Combine evidence links with entry tags (e.g.,
ttp:t1548) for comprehensive activity documentation